Bluetooth headphones can pair successfully and still behave badly. Music may sound thin, a meeting may use the laptop microphone, or sound may disappear when another device connects. Pairing establishes a relationship between devices; it does not guarantee that every application chooses the intended input and output.
Start with one clear symptom and a simple setup. Use the headphones with one computer and one application before adding a phone, dock, or meeting tool. This makes it easier to identify whether the problem belongs to the headset, the computer, or a particular audio path.
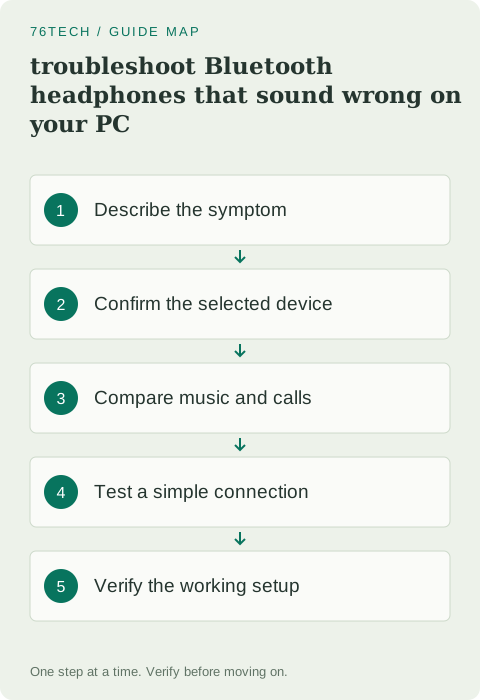
1. Describe what “wrong” means
Separate low volume, distorted sound, interruptions, missing microphone input, and a quality change during calls. These symptoms can have different explanations. Note when the change starts: immediately after pairing, when a microphone is activated, after sleep, or only when you move away from the computer.
Use a familiar audio clip for comparison, with a moderate volume. Avoid comparing a high-quality music file with an unrelated low-quality call recording. Keep the test content the same so a difference says something about the device configuration rather than the source itself.
2. Confirm input and output in the application
Open Windows sound settings and verify the selected output device. Then inspect the application's own audio settings. A video-call app may choose a different device from the system default, especially after connecting a monitor or dock.
Speak and watch the microphone meter in the call application's test screen. If the laptop microphone is selected while you expected the headset, correct that choice deliberately. A successful headphone output test tells you nothing about which microphone the app is using. Treat each direction as a separate connection to verify.
3. Compare listening with microphone use
Play the same clip while no application uses the headset microphone, then perform a call test that does use it. Some Bluetooth configurations change their audio behavior when handling simultaneous microphone and speaker traffic. The exact capabilities depend on the headset, adapter, operating system, and supported features.
If the difference is repeatable, consult both device vendors' support information before changing advanced settings. A separate supported microphone may be a useful comparison, but it is not a universal requirement. Do not promise that a hidden codec setting can remove a limitation imposed by the actual connection arrangement.
4. Establish a clean pairing baseline
Charge the headset and confirm that it is in the manufacturer's intended pairing mode. Temporarily disconnect it from other devices you control if multipoint behavior is confusing the test. Follow the headset manual rather than assuming every long button press performs the same action.
If repairing the relationship is necessary, use Windows' supported remove-and-pair procedure and the manufacturer's guidance. Microsoft's Bluetooth troubleshooting reference covers pairing, device checks, and diagnostic routes. Do not delete every Bluetooth device or reset the whole computer for one problematic headset.
5. Check range and the immediate environment
Test close to the computer with no large obstruction between it and the headset. If that works but the usual location does not, investigate distance and the local environment. Keep the computer and headphones in consistent positions while making comparisons.
A desktop adapter with an external antenna may depend on that antenna being attached and positioned correctly. Check the adapter or motherboard instructions. USB devices and placement can also affect wireless behavior. Change one connection or position at a time so you can tell whether it actually improves interruptions.
6. Use the correct support channel for updates
Obtain Bluetooth drivers from the computer or adapter manufacturer's official support route. Match the model and operating system. Headset firmware should likewise come through the vendor's supported process. Record the current version before changing it if the tool makes that information available.
Avoid third-party driver bundles that promise to repair every device automatically. They add software and uncertainty to a problem that may be a simple device selection. Complete any required restart, then repeat the original test. A successful installation message is not the same as a successful audio comparison.
7. Test the transitions that trigger the issue
If the problem happens after sleep, test sleep and wake. If it happens when the phone connects, test that sequence after the computer-only baseline is stable. If it occurs only in one meeting app, compare the application's settings and supported device guidance.
Keep the tests short and observable. Write down the sequence that succeeds and the one that fails. “Audio changes when the call opens the headset microphone” is a more useful finding than “Bluetooth is unreliable.” It gives support a specific behavior to reproduce and helps you choose a practical workaround.
8. Keep a known-good configuration
Once the headset works for your normal task, note the selected input and output and any connection rule that matters. That might mean using the headset with one host during important meetings or reconnecting a particular adapter directly. Prefer a simple repeatable setup over a stack of unexplained tweaks.
If failures persist, compare the headset on another trusted device and another headset on this computer where possible. The result can distinguish a device-specific fault from a host problem. Replace hardware only when the evidence points there; many apparent headphone failures turn out to be an application using the wrong device or a connection that behaves differently during microphone use.