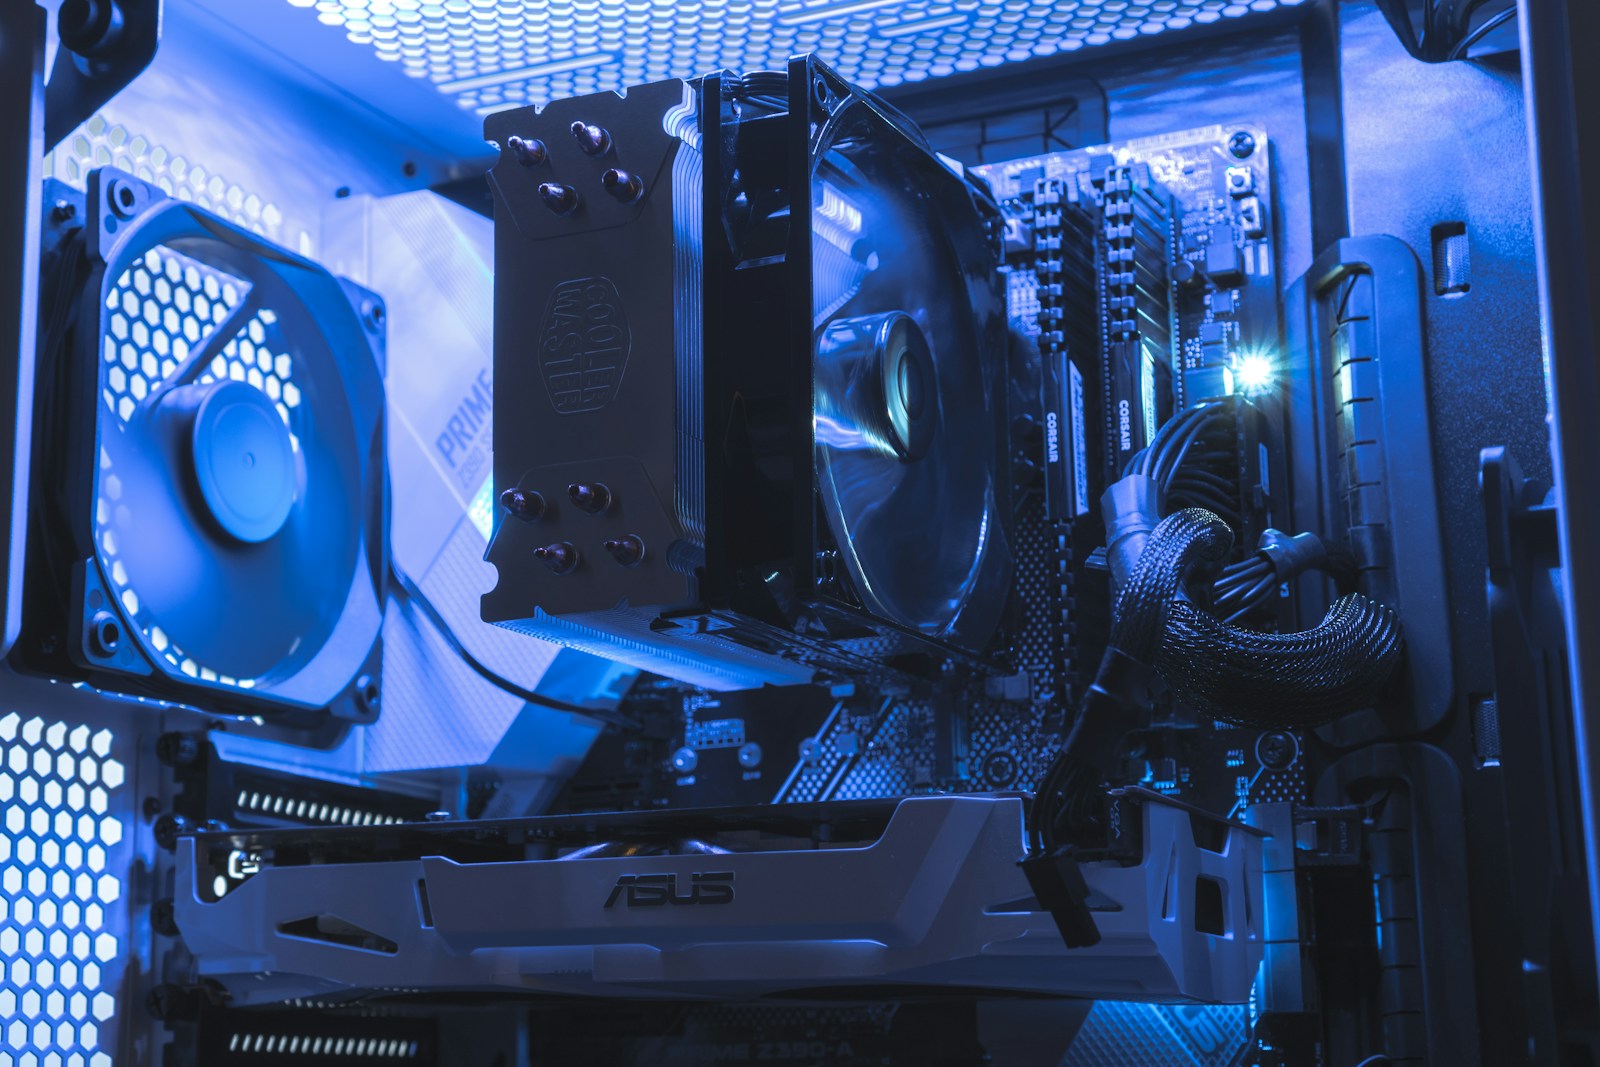
Dust builds slowly enough that it is easy to overlook. A filter becomes a gray sheet, a vent collects lint, and a computer that once ran quietly starts working harder to move air. Cleaning can restore an obstructed airflow path, but it should be a controlled maintenance task rather than an excuse to dismantle every component.
The sensible scope is the case exterior, removable filters, and internal areas that the manufacturer documents as accessible. Leave sealed power supplies, liquid-cooling loops, and unfamiliar assemblies alone. If the system has unusual noises, liquid damage, or a burning smell, cleaning is not an adequate diagnosis.
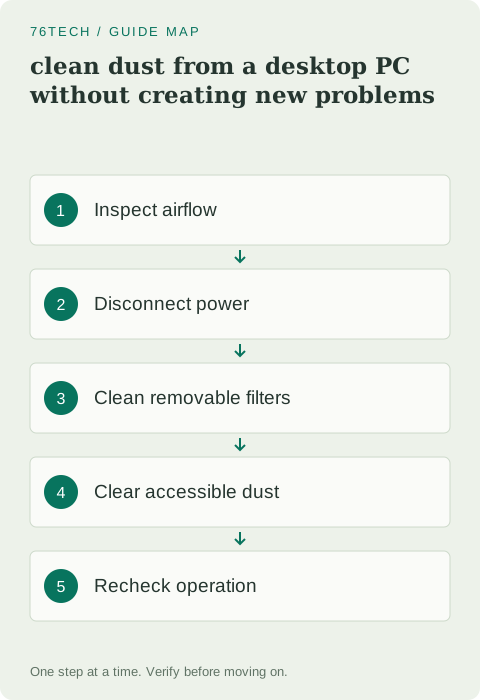
1. Inspect before reaching for a tool
Look at the computer's location. A case pressed against a wall or enclosed in a tight cabinet may have poor airflow even when clean. Identify intake and exhaust openings from the case documentation. Note removable filters and the direction in which they slide or lift out.
Take a photo of the visible dust and cable arrangement. This is useful for checking improvement and for putting cables back where they belong. If the machine is overheating, also record the workload and symptoms before maintenance. A cleaner interior is visually satisfying, but it does not prove that an unrelated cooling fault has been solved.
2. Shut down and isolate power
Save work, turn the computer off, and disconnect external power and peripherals. Follow the service manual before opening the case. Set the machine on a stable surface where you can see clearly and avoid creating static while handling internal components.
Dell's computer maintenance guidance recommends appropriate cleaning materials and warns against ordinary vacuums or blowers that can create static. Use equipment intended for electronics, and follow its instructions. Do not improvise with a hair dryer, a high-pressure workshop compressor, or household spray cleaners inside the computer.
3. Clean removable filters away from components
Remove filters according to the case manual. Brush or clear loose dust in a way that does not send it back through the computer. If the manufacturer allows a filter to be washed, let it dry completely before reinstalling it. Do not assume every mesh panel, foam insert, or adhesive filter is washable.
Inspect the filter frame and attachment points while it is out. A bent frame or loose edge can let dust bypass the filter. Reinstall it in the correct orientation without blocking another opening. A clean filter is useful only if air can pass through it and the case is assembled as intended.
4. Clear vents and accessible fan areas gently
Use short, controlled bursts of suitable compressed air while following the can's orientation and distance instructions. Keep the can positioned to avoid expelling liquid propellant. If a fan is accessible, prevent it from free-spinning under the air blast without bending or loading its blades.
Work from accessible areas outward rather than driving a dense dust clump deeper into a heatsink. Do not insert tools through a power supply grille or remove its cover. Internal power-supply components are outside the scope of routine user cleaning, even when the computer is unplugged. Clean only the externally accessible surfaces allowed by its instructions.
5. Avoid turning cleaning into unnecessary disassembly
You usually do not need to remove the processor cooler, graphics card cooler, or motherboard for ordinary dust maintenance. Removing a cooler introduces mounting and thermal-interface work that may not be needed. Disconnecting many cables at once also increases the chance of creating a new fault.
If an obstruction cannot be reached safely, stop and consult the service procedure or a technician. The same applies when a fan is damaged, a cable is caught, or a component is loose. A small maintenance session should not escalate into improvised repairs simply because the side panel is already open.
6. Reassemble and inspect before powering on
Check that no cleaning material, loose screw, or tool remains inside. Confirm that any cable you intentionally disconnected has been returned to the correct connector. Make sure cables do not rest against fan blades and that the case panels and filters are properly fitted.
Reconnect the computer and start it normally. Listen for scraping, rattling, or a fan that no longer operates. If anything is clearly wrong, shut down and inspect rather than continuing to use the machine in the hope that the noise will settle. A cable touching a fan is easier to correct before prolonged operation.
7. Compare behavior under the same conditions
Repeat the workload you noted before cleaning, with the computer in the same room and a similar configuration. Observe noise and any temperature readings available from supported tools. Do not compare an idle reading before cleaning with a heavy gaming session afterward and draw a conclusion from the difference.
If thermal problems remain, investigate airflow, cooler operation, and the specific hardware's requirements. Cleaning removes dust; it does not repair a failed pump or a poorly mounted heatsink. Schedule the next inspection based on the environment. A room with pets or heavy dust may need attention sooner than a clean office, so visual inspection is more useful than a universal calendar interval.