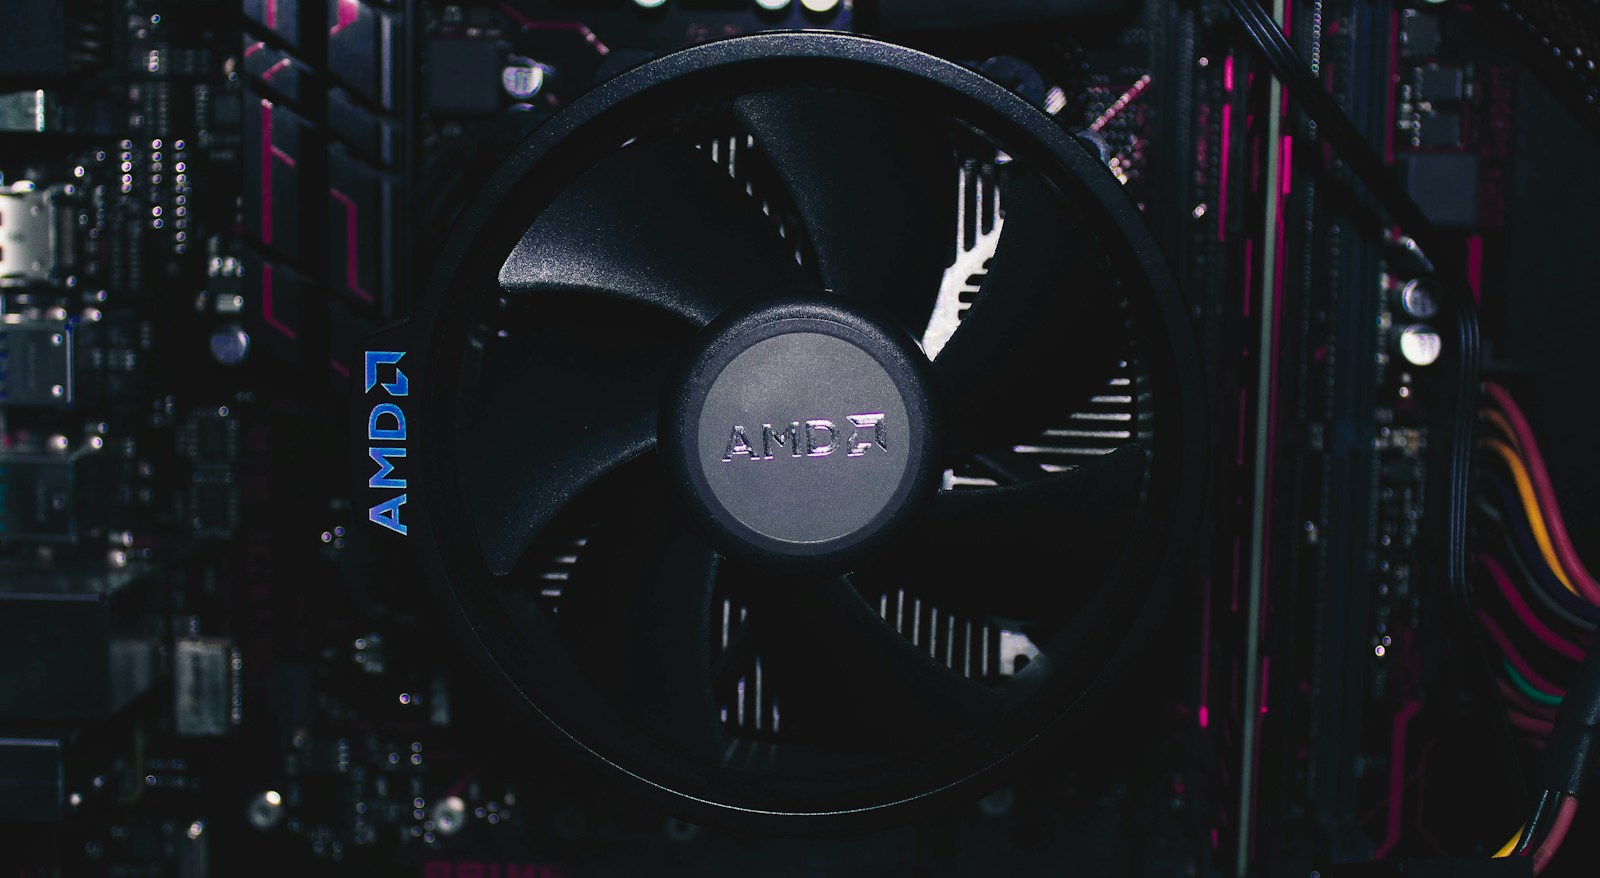
A temperature number becomes useful only when you know what produced it. A processor briefly boosting during an application launch is not in the same situation as a computer shutting down at an idle desktop. Likewise, a thin laptop and a large desktop tower cannot be judged by an identical expectation about noise and sustained power.
Start with the symptoms: unexpected shutdowns, a clear drop in performance during a sustained task, excessive fan noise, or a sudden change from the computer's usual behavior. Then collect enough context to decide whether cooling deserves investigation. Avoid declaring a processor unhealthy from one screenshot alone.
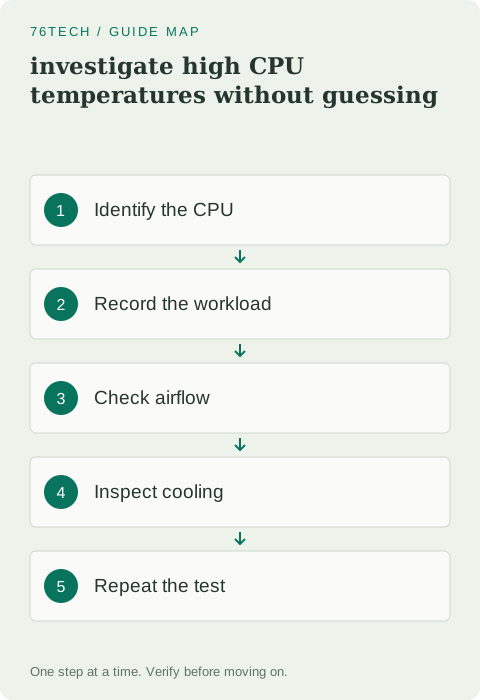
1. Identify the exact processor and computer
Record the processor model and whether the system is a prebuilt desktop, a custom build, or a laptop. Obtain the relevant thermal specifications and service guidance from the manufacturer. Temperature limits and boost behavior vary by model, so a number remembered from an older processor may not apply.
For custom desktop systems, Intel's overheating troubleshooting guide identifies symptoms such as throttling and shutdowns and points to cooling checks. Its scope matters: an OEM computer should also be assessed using that computer manufacturer's guidance. Do not transplant a custom-build repair procedure into a laptop with an entirely different cooling assembly.
2. Collect a baseline at idle and during normal work
Use a supported monitoring tool and note which sensor is being reported. CPU package, individual core, motherboard, and graphics temperatures are different measurements. Record room conditions, the task running, the power mode, and whether the computer is on battery or external power.
Observe a few minutes of ordinary idle behavior, then repeat the workload that causes concern. A video export, compilation, or familiar game is more representative than an extreme stress test for a machine already behaving badly. Stop a test if the system shows signs of a serious fault rather than pushing it until it shuts down again.
3. Compare performance as well as temperature
Measure something practical, such as the time required to finish an export, while noting whether performance falls during the task. A processor can change speed for several reasons, including power limits and workload behavior. Reduced speed alone is not proof that heat is the cause.
Look for a repeated relationship: the same task begins normally, temperatures rise, and the system reports thermal limiting or becomes noticeably slower. Keep the evidence together. This is more persuasive than comparing two isolated temperatures recorded during different tasks on different days.
4. Check the airflow path first
Place a laptop on a firm surface that does not block its vents. Check that a desktop's intake and exhaust openings have room around them. Remove obvious external obstructions and inspect filters for accumulated dust. A computer inside a warm, crowded cabinet may struggle even when every component works correctly.
If cleaning is needed, power down and follow the device's maintenance instructions. Do not spray liquids into vents or use a vacuum inside the computer. Repeat the original workload after correcting the obstruction. If the behavior returns to normal, document that result before making additional changes.
5. Investigate fans and cooling hardware carefully
Listen for a new grinding or scraping noise and check accessible fan operation using the documented procedure. A fan cable that was disturbed during an upgrade, a blocked blade, or a failed fan can change cooling suddenly. For liquid cooling, pump behavior and any visible leak require the manufacturer's specific guidance.
Avoid removing a heatsink just to see whether it helps. Reinstalling one correctly requires the appropriate mounting procedure and thermal-interface material. If you are not prepared for that work, stop at observation and seek service. The goal is to identify a fault, not create a new mounting problem while investigating an old one.
6. Revisit recent changes
Think about what happened before the symptoms began. Was the computer moved, a new graphics card installed, a fan curve changed, or a firmware performance setting enabled? Reversing a known, documented configuration change can be more informative than applying an unrelated tweak.
Return optional tuning to a supported baseline when appropriate, preserving a record of existing settings. Do not blindly reset firmware on a managed or specially configured machine: storage, boot, and security settings can have consequences. If a firmware update is relevant, use the exact device's official update process and meet its power requirements.
7. Decide whether the issue is resolved
Repeat the same workload in comparable conditions. Check that performance is stable, unexpected shutdowns have stopped, and the system no longer reports the concerning behavior. Do not demand silence from a computer doing heavy work; fan activity can be a normal response to load.
If the problem remains, provide support with the model, workload, temperature sensor, observed symptoms, and changes already tested. Keep the focus on reproducible behavior rather than a universal “safe temperature” claim. A useful conclusion may be that the system is operating normally, that airflow was obstructed, or that a cooling component needs service. Each conclusion should follow from evidence.