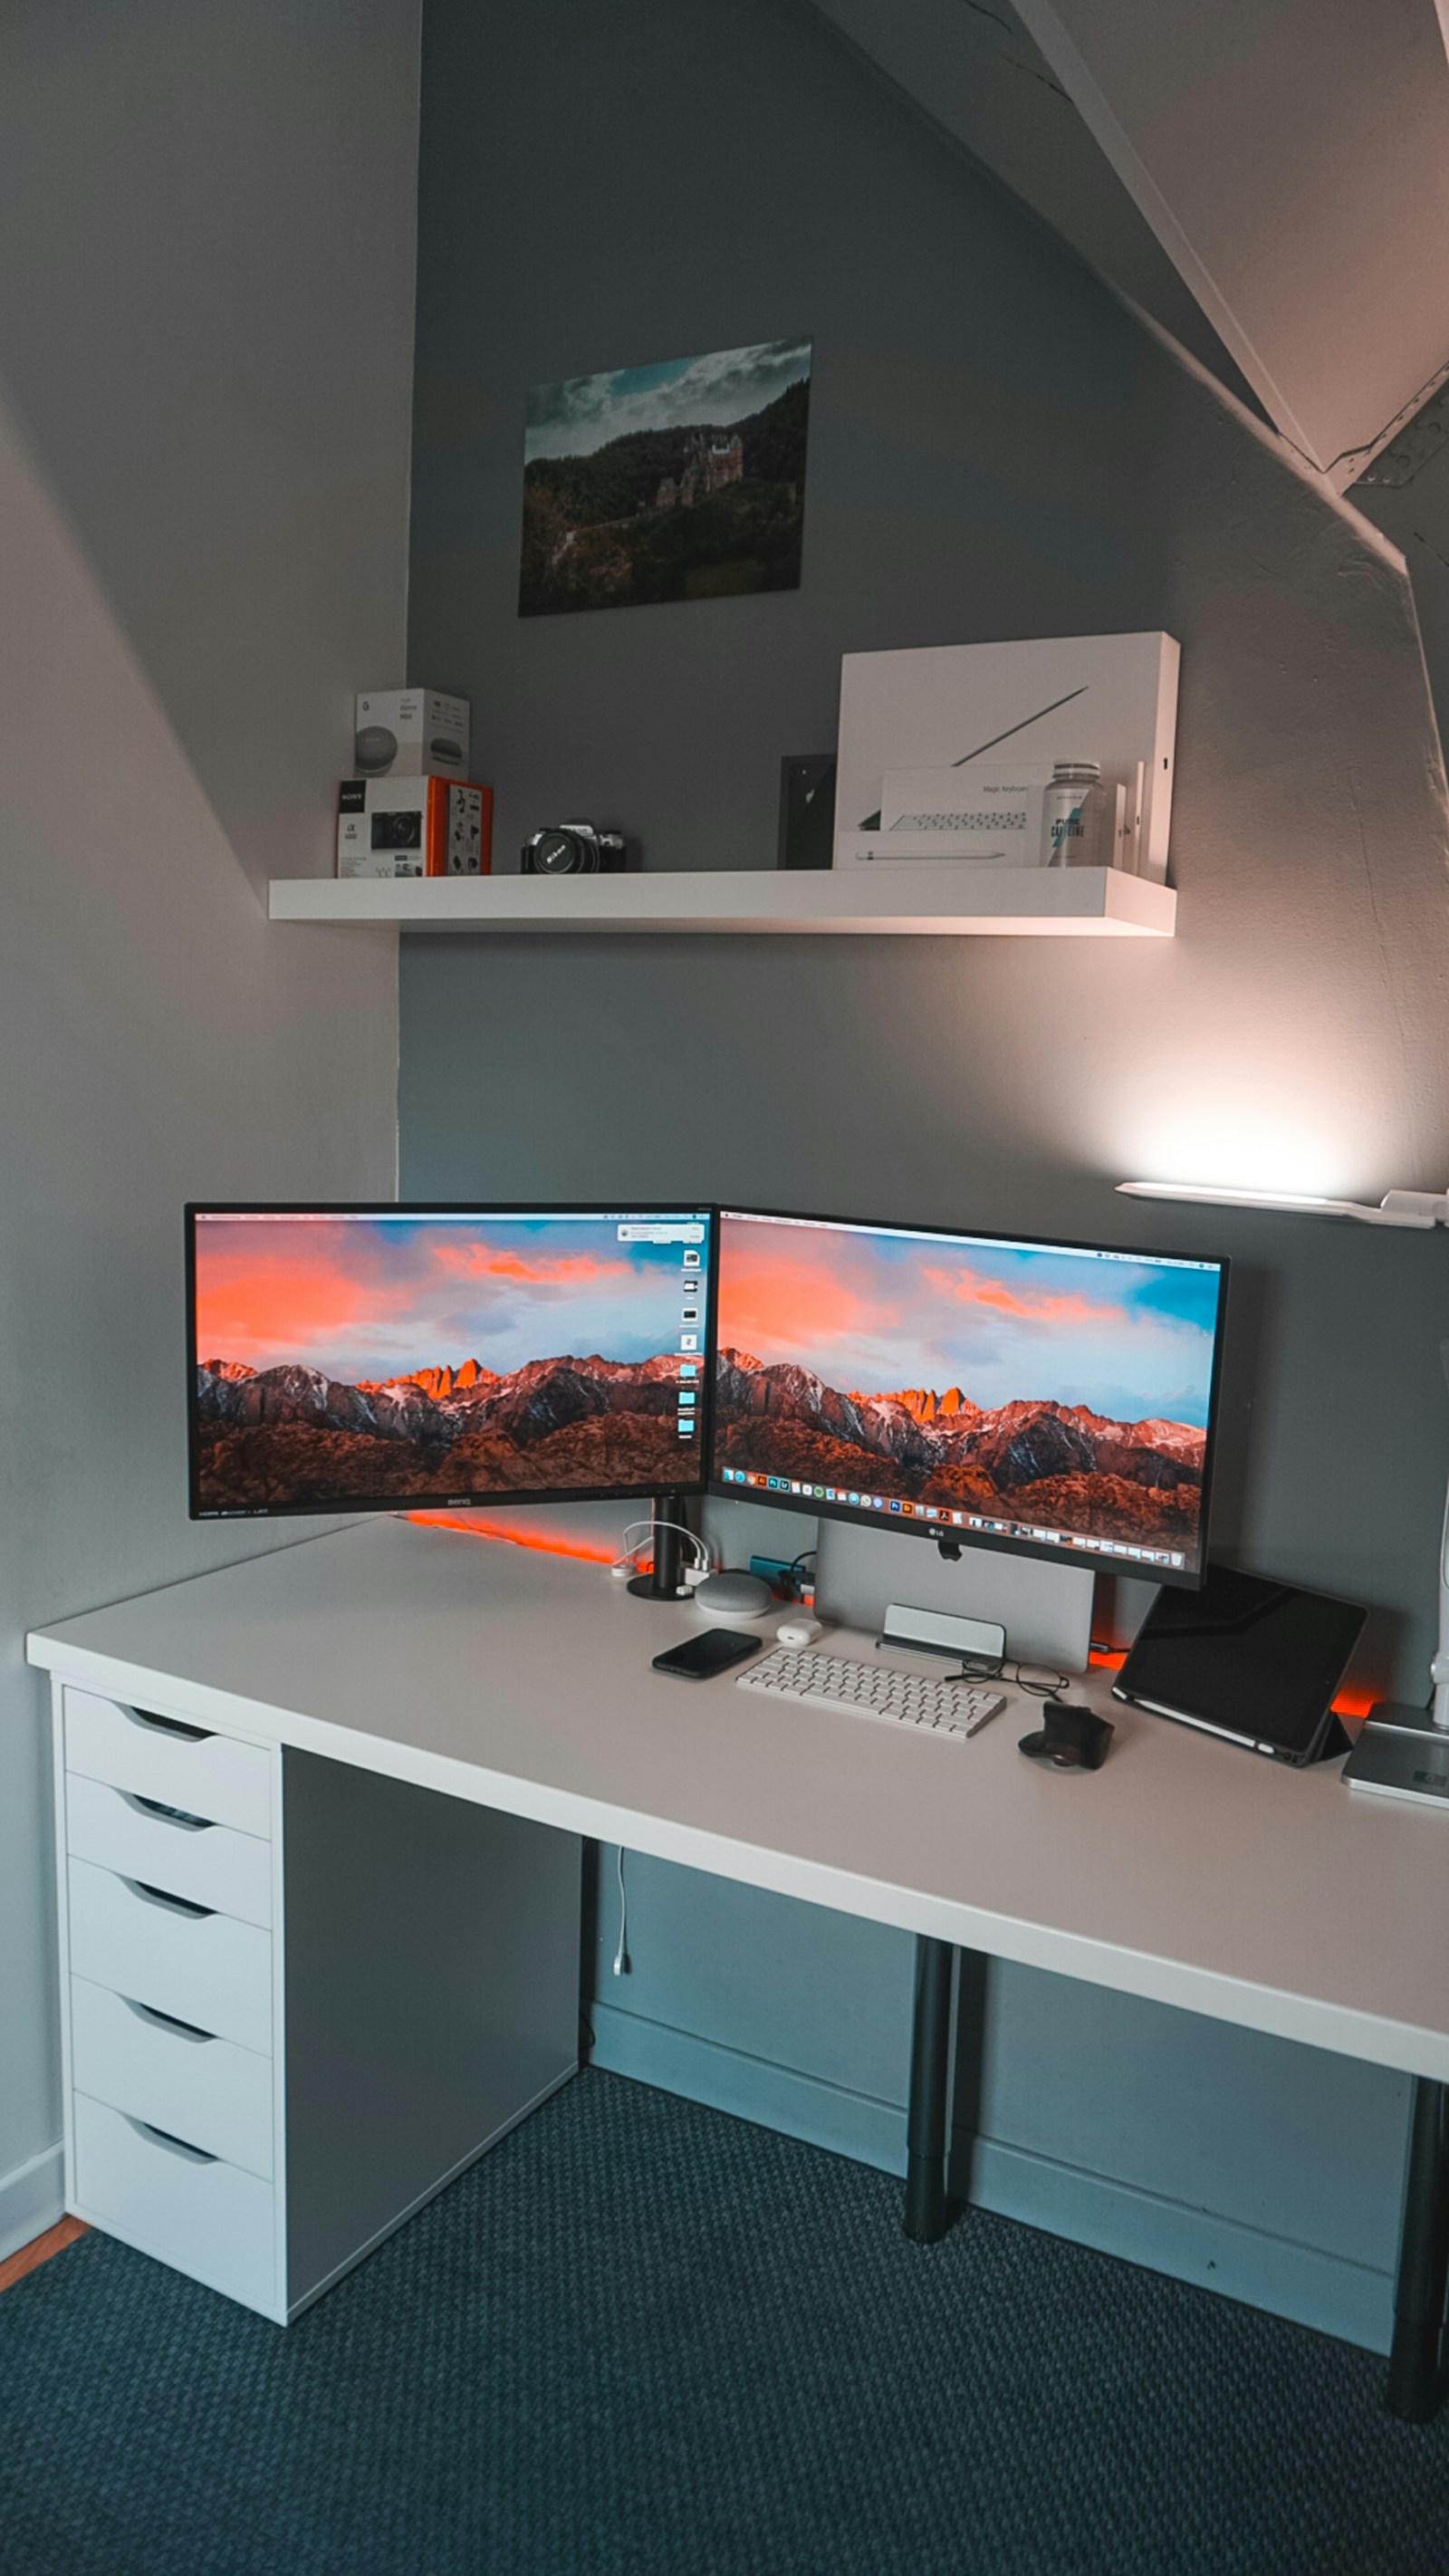
A second monitor is useful only if it makes work easier. If the pointer disappears at the wrong edge, text looks tiny, or the same window appears on both screens when you wanted more space, the problem is usually setup rather than the idea of using two displays.
This guide follows a Windows desktop or laptop with supported display outputs. Before buying a cable, check the specifications of the computer, monitor, and any dock between them. Physical connector shape is only part of compatibility, especially when USB-C is involved.
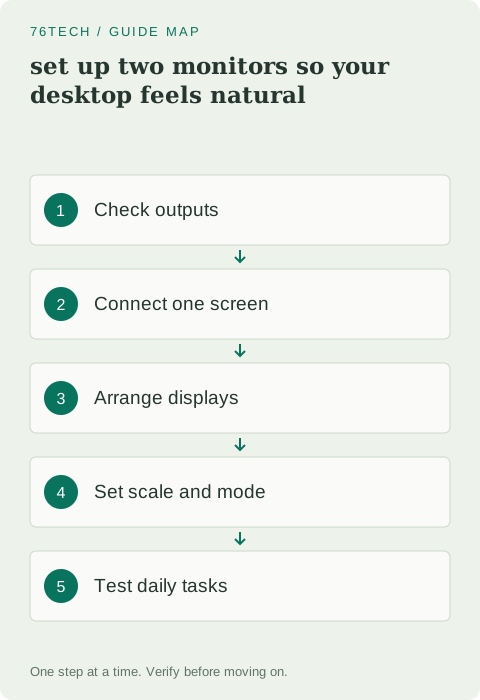
1. Confirm what the computer can drive
Find the device manufacturer's display specifications. Look for the number of supported external monitors and the supported resolutions and refresh rates in the connection arrangement you intend to use. A laptop that supports one external screen directly may have different limits through a dock.
For a desktop with a dedicated graphics card, use the appropriate outputs on that card. Motherboard video outputs may not work with every processor or system configuration. Do not assume that every socket on the back of the case produces an independent picture. Write down the connection path, such as computer DisplayPort → monitor DisplayPort, before introducing adapters.
2. Connect one display and establish a working baseline
Power on the monitor and select the input that matches the connected cable. A monitor can show “no signal” simply because its input is set to HDMI while the computer is connected to DisplayPort. Connect directly where possible before adding a hub or dock.
In Windows, press Windows + P and select Extend when you want a larger workspace. Duplicate displays the same content on both screens, which is useful for presentations but does not create extra working space. Microsoft's external-monitor troubleshooting guide covers this distinction and the basic connection checks.
3. Match the virtual arrangement to the physical desk
Open display settings and use Identify to see which number belongs to each screen. Move the display rectangles so their relative positions match your desk. If the second monitor is physically on the left, place its rectangle to the left. Align the edges in a way that reflects how you move between them.
Test by slowly moving the pointer across the join. If it appears too high or too low, adjust the arrangement rather than trying to memorize an awkward path. Different resolutions can make the virtual rectangles different sizes even when the physical monitors look similar. The goal is a comfortable crossing point, not necessarily identical-looking rectangles.
4. Set resolution and scaling separately
Select each display before changing its settings. Start with the recommended resolution, which is generally the panel's native mode. Then adjust scaling if text and interface controls are too small. Lowering resolution to make everything larger can reduce sharpness; scaling is usually the better first experiment.
Open a familiar document and a browser on each screen. Compare readability at your normal sitting distance. A high-density laptop panel and a lower-density desktop monitor may need different scaling values. There is no rule that both screens must use the same percentage. Choose settings that make real work comfortable and check applications you rely on for unusual scaling behavior.
5. Choose the main display and a practical layout
Set the screen you use most often as the main display. Put your primary task there and use the second screen for supporting material, such as reference documents, a preview, or a meeting window. Avoid spreading one long paragraph across the physical gap between screens.
Position the display you look at most directly in front of you. If you spend equal time on both, arrange them so frequent turns are modest and comfortable. Adjust the stand and viewing distance before compensating with software settings. A technically correct setup can still be unpleasant if the screen is too high or placed far to one side.
6. Add docks and adapters one at a time
Once a direct connection works, introduce the dock if you need it. If the picture disappears only through the dock, investigate that path: host port capability, dock power, cable specification, and supported display combinations. Changing the graphics driver immediately can obscure a simpler compatibility issue.
A basic video splitter generally duplicates one signal rather than creating two independent desktops. If you need two extended screens, confirm that the whole setup supports separate display streams. Also check whether the dock uses a technology that requires a driver and whether that driver is supported on your operating system. Product names alone are not enough to settle these questions.
7. Test the transitions you actually use
Put the computer to sleep and wake it. Disconnect and reconnect the dock if that is part of your daily routine. Open a video call, share one screen, and verify which display other participants would see. Check where windows appear after reconnecting so that an application does not seem to vanish onto a disconnected screen.
Finally, save a short note of the cables and settings that work. If a future change introduces flickering or missing displays, you now have a known-good arrangement to compare against. A successful two-monitor setup is one you can forget about while you work: readable text, predictable pointer movement, and a stable connection.