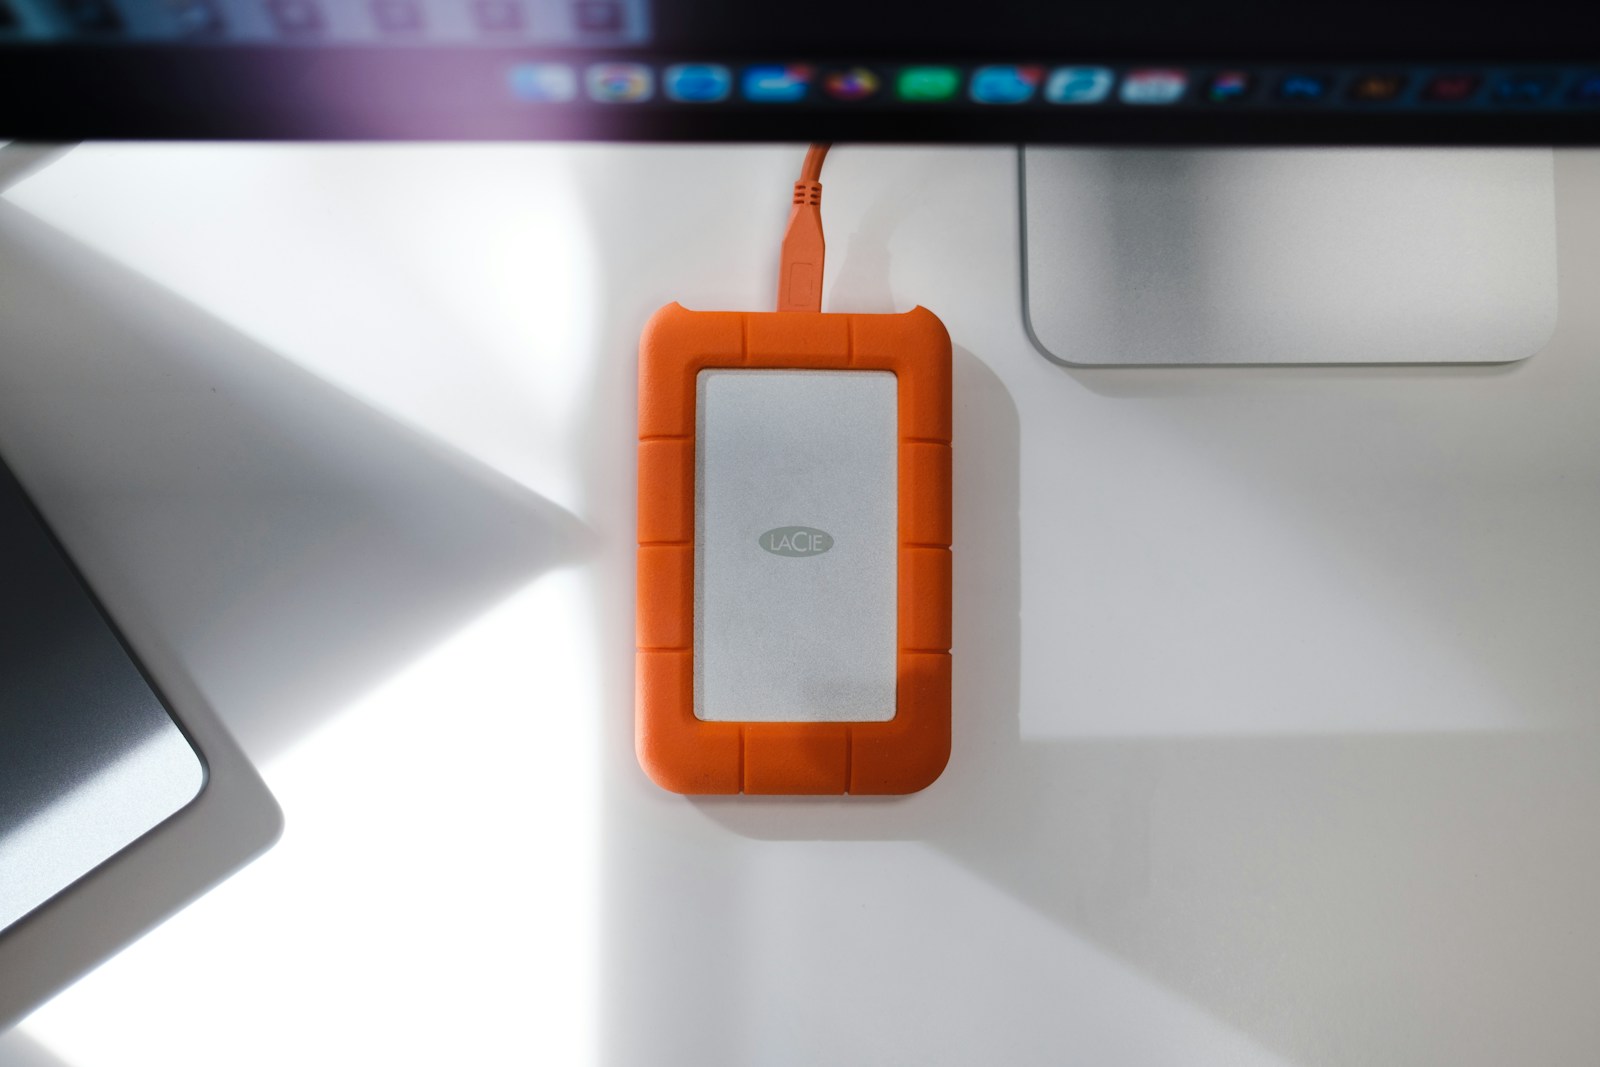
An external drive can be a working library, a transfer device, or a backup destination. Those roles overlap, but they are not interchangeable. A drive that holds the only copy of a project is primary storage, even if it sits outside the computer and has “backup” written on its case.
Before formatting or copying a large collection, decide what the drive will do and which devices must read it. This avoids discovering later that a perfectly good drive is formatted for the wrong environment or that a supposedly protected archive exists in only one place.
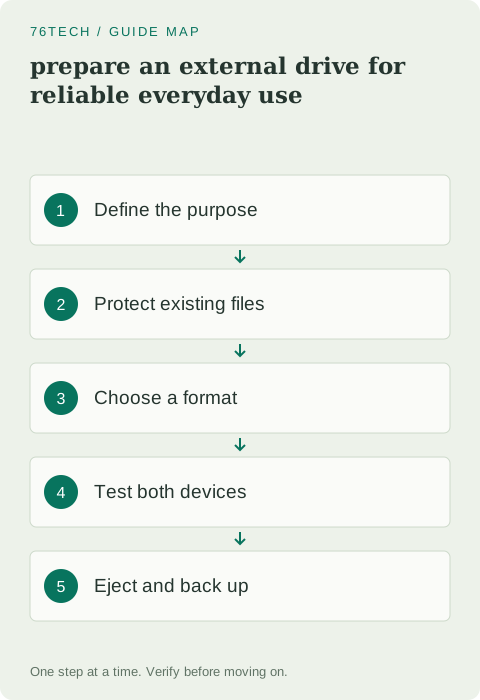
1. Define the job and connection path
List the computers and other devices that will use the drive. Include any camera, television, console, or specialist equipment, because those devices can have more restrictive format requirements than a current desktop operating system. Check their manuals rather than assuming that compatibility with one laptop guarantees compatibility everywhere.
Also note whether the drive will connect directly or through a hub. A powered desktop drive may need its own adapter, while a portable drive depends on the host connection. Repeated disconnections can come from an unsuitable cable or insufficient power, not just from the storage device itself.
2. Inspect the existing contents before erasing anything
Connect the drive and examine it in the operating system's storage tools. Match the device name and capacity with the physical drive. If it contains files, open several and establish whether they are needed. An empty-looking file browser does not always mean that the disk has no partitions or recoverable data.
Formatting is a destructive preparation step, not a generic repair button. If this is a previously used drive with important data that has become unreadable, stop before initializing or formatting it. Determine whether the issue is a cable, enclosure, file-system compatibility, or a failure that calls for data-recovery advice.
3. Choose the file system for the actual devices
For a drive shared between current Windows and macOS computers, exFAT is a common option. A Mac-only workflow may benefit from a Mac-native format, while a Windows-only workflow may use a Windows-native format. Apple documents the available choices in its Disk Utility format reference.
Compatibility is not the only consideration. Encryption, permissions, backup software requirements, and resilience features differ. Check the application that will use the drive, especially if it is a dedicated backup destination. Do not select a format solely because its name appears first in a menu or because someone used it successfully for a different purpose.
4. Label the drive and create a simple folder plan
Give the volume a descriptive name such as Media-Archive or Project-Transfer. Add a physical label if you own several identical devices. Include a date or inventory identifier where useful, but do not put sensitive information such as account passwords or recovery keys on the case.
Create a small number of clear top-level folders. For example, a working archive might use Projects, Photos, and Documents, with year or project folders beneath them. Avoid creating a deep hierarchy before you have files to organize. A structure should help you find a known item, not turn every save operation into a complicated filing decision.
5. Test with representative files
Copy a small folder containing the kinds of files you actually use: a document, an image, a larger video, or a project folder. Open them from the external drive. If you plan to share the drive between operating systems, safely eject it and perform the same check on the other computer before transferring your entire library.
Test writing as well as reading. A drive can appear in a file browser and still be read-only in a particular environment. Check that file names and expected folder contents survive the round trip. For critical transfers, compare file counts and sizes or use a trusted verification tool appropriate to the data.
6. Copy first, then decide what to remove
For a major move, copy rather than immediately deleting the source. Verify the destination and establish a second backup before reclaiming the original space. If a project references files by their old paths, open the project from its new location and confirm that those dependencies resolve.
Do not judge completion only by the disappearance of a progress window. A partially failed copy may leave a convincing-looking folder tree. Review any error messages and check representative large and small files. Keep a short migration note for valuable archives so you know where the authoritative copy now lives.
7. Disconnect properly and plan for failure
Close applications that are using the drive and use the operating system's eject or safely-remove process. Wait for confirmation before unplugging it. If the drive cannot be ejected, identify the open application or active transfer rather than repeatedly pulling the cable during writes.
Store the drive where it will not be knocked off a desk or exposed to avoidable heat and moisture. Include its contents in a backup plan appropriate to their value. An external drive is convenient, but it remains one physical device with one set of failure risks. Reliability comes from verified copies, clear ownership of the data, and a way to recover when that device eventually stops working.