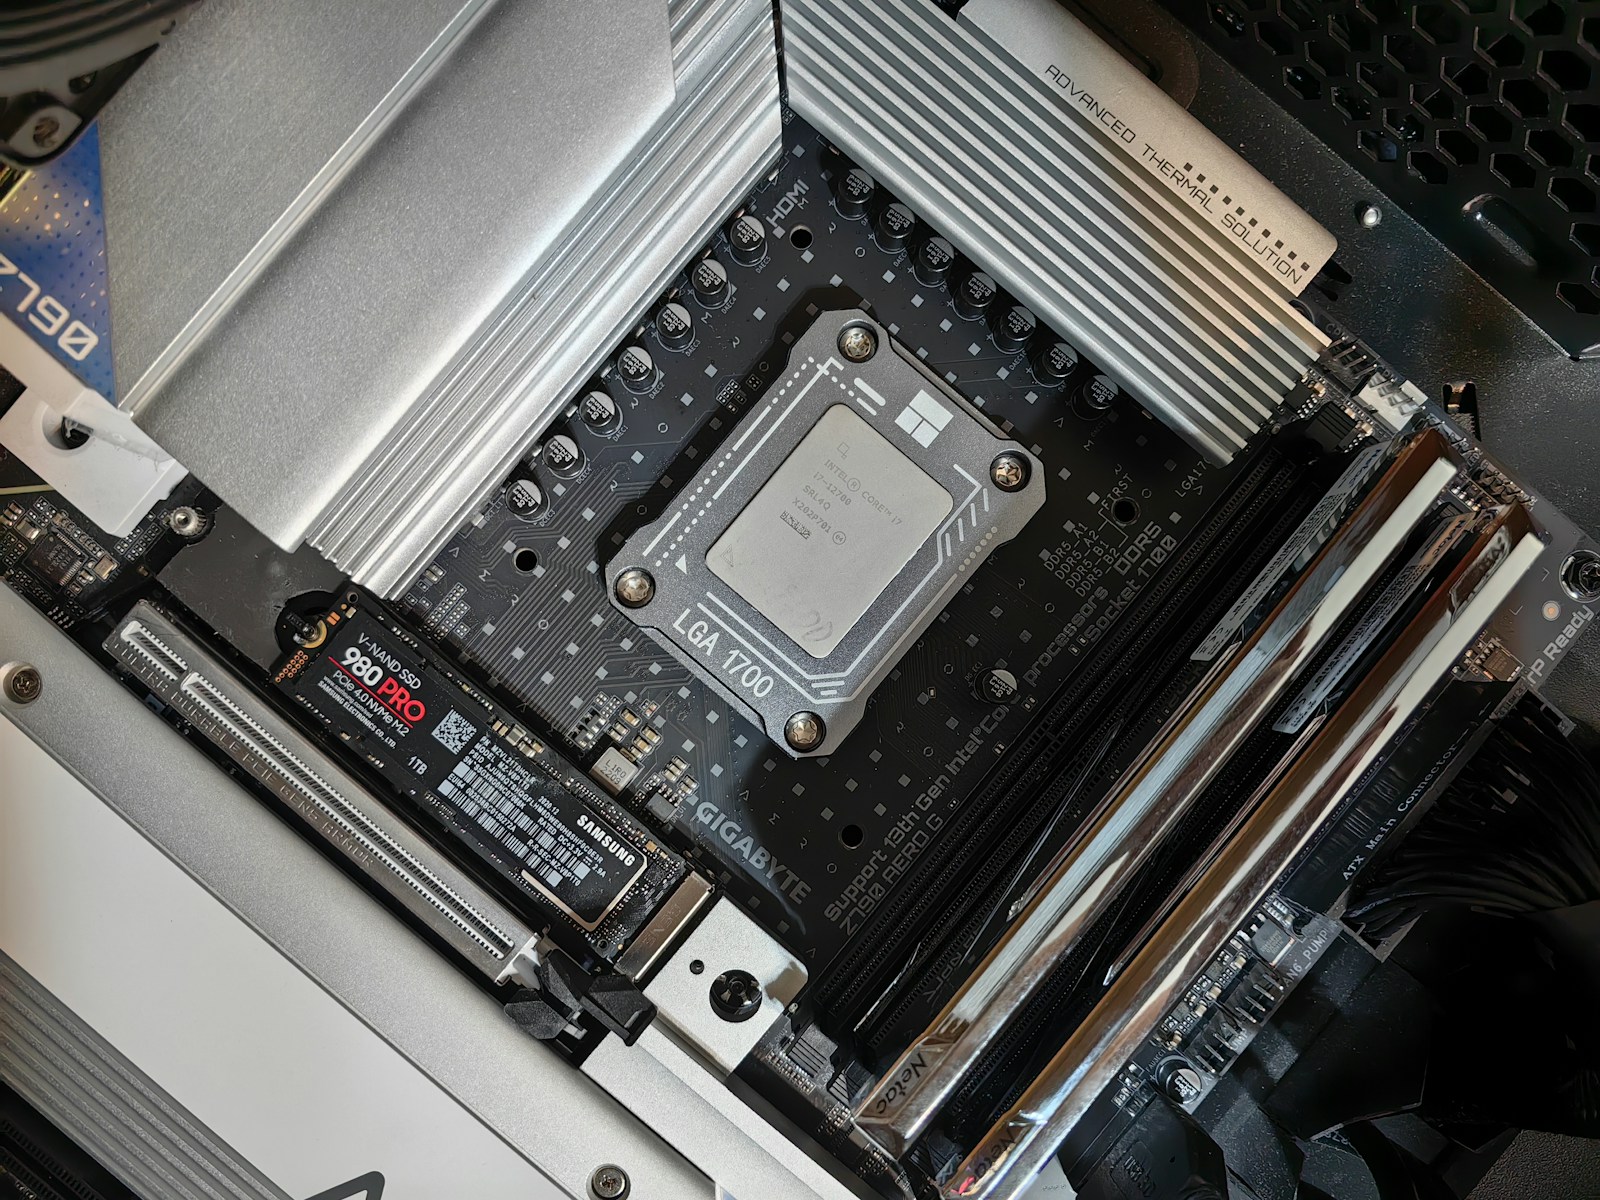
Adding a second SSD can give projects, games, and media more room without replacing the operating system drive. The physical installation is often short, but compatibility and disk identification deserve more attention than the screwdriver work. Choosing the wrong slot or formatting the wrong disk is a much bigger problem than taking an extra few minutes to check.
This guide describes the planning process for a computer with a documented, user-accessible M.2 NVMe slot. It does not replace the service manual for your specific model. If the computer has only one slot, a soldered drive, or an enclosure that is not intended for user servicing, the upgrade plan will be different.
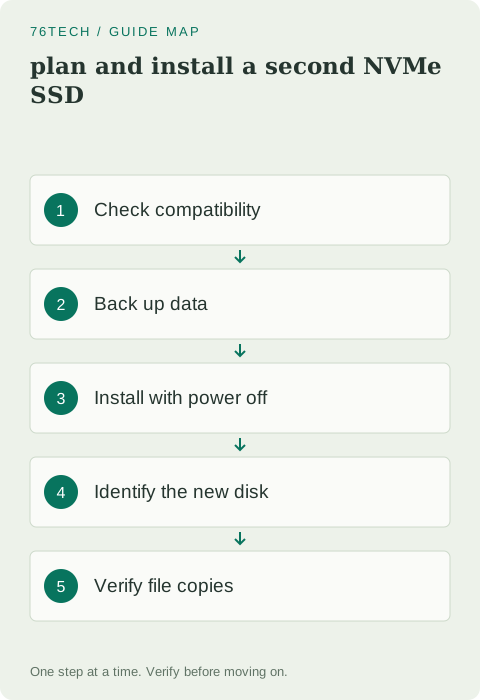
1. Confirm the slot, protocol, and physical size
Read the motherboard or computer manual. Confirm that the available slot supports NVMe over PCIe, the supported module length, and any restrictions related to other installed components. M.2 describes a physical form factor; it does not guarantee that every M.2 drive uses the same protocol.
Check whether occupying the slot changes the availability of another port or shares lanes with another device. Also check clearance for a heatsink. A drive with a large preinstalled heatsink may not fit a laptop or a covered motherboard slot. Write down the exact slot name and supported drive dimensions before ordering a part.
2. Make the installation recoverable
Back up important files from the existing system even though you intend to add, not replace, storage. Save recovery information for any encrypted drive in a secure place you can access independently. Hardware changes can sometimes lead to a recovery prompt, and the installation is an inconvenient time to discover that the only copy of the key is on the locked computer.
Photograph the current layout before disconnecting anything. Keep screws in a small container and note which cover they belong to. Download or open the service instructions on another device so you can consult them while the computer is shut down. These preparations turn a moment of uncertainty into a quick reference check.
3. Shut down and follow the service procedure
Turn the computer off completely and disconnect external power. For a laptop, follow the manufacturer's instructions for disconnecting or disabling the internal battery before touching components. Use appropriate electrostatic-discharge precautions and hold the SSD by its edges rather than the contacts.
Crucial's NVMe installation guide outlines preparation and installation, but your device manual determines how its covers, retaining mechanism, and battery are handled. Do not open a power supply or improvise around an unfamiliar connector.
4. Fit the drive without forcing it
Locate the correct standoff or retention position for the drive length. Align the notch with the socket and insert the module according to the manual, then secure it using the provided mechanism. The drive should sit correctly without being bent or held down by excessive screw pressure.
If a heatsink or thermal pad is required, follow the supplied instructions, including any removable protective film. Do not stack incompatible heatsinks or add materials because they appear to improve contact. Before closing the case, check that no loose screw remains inside and that any disconnected cable has been returned to its proper place.
5. Verify detection before making disk changes
Start the computer and confirm that the existing operating system still boots normally. Use firmware information or the operating system's disk management tools to check whether the new device is detected. Match the reported model and capacity with the drive you installed.
If the drive does not appear, shut down and revisit the physical installation and slot compatibility. Do not format a different disk because it is the only unfamiliar entry on screen. A recovery partition, removable drive, or existing data disk can be mistaken for the new device if you rely only on its position in a list.
6. Create storage only on the verified new disk
A genuinely blank secondary drive may need initialization, a partition, and formatting before it appears as a usable volume. Follow the operating system's supported disk-management workflow, checking the target model and capacity at every destructive step. On modern Windows systems, GPT is the usual partition style, but special boot and compatibility requirements should be checked for your environment.
Choose a clear volume label such as Projects-SSD rather than relying on a drive letter alone. If the drive already contains data you need, stop before initialization or formatting. Those actions are not troubleshooting tools for a disk whose contents matter. Determine why it is not mounting and seek appropriate recovery guidance first.
7. Test before relocating a large library
Copy a small, noncritical folder to the new volume and open several files from it. Restart once and confirm that the drive remains available. Then copy a larger representative project and compare the expected files and folder structure. Keep the original until you have verified the copy and updated your backup coverage.
Remember that extra internal storage is not an independent backup. A device failure, accidental deletion, or theft can affect both drives in the same computer. Record the installed model and slot, retain any warranty information, and include the new data location in your backup plan before treating the upgrade as complete.