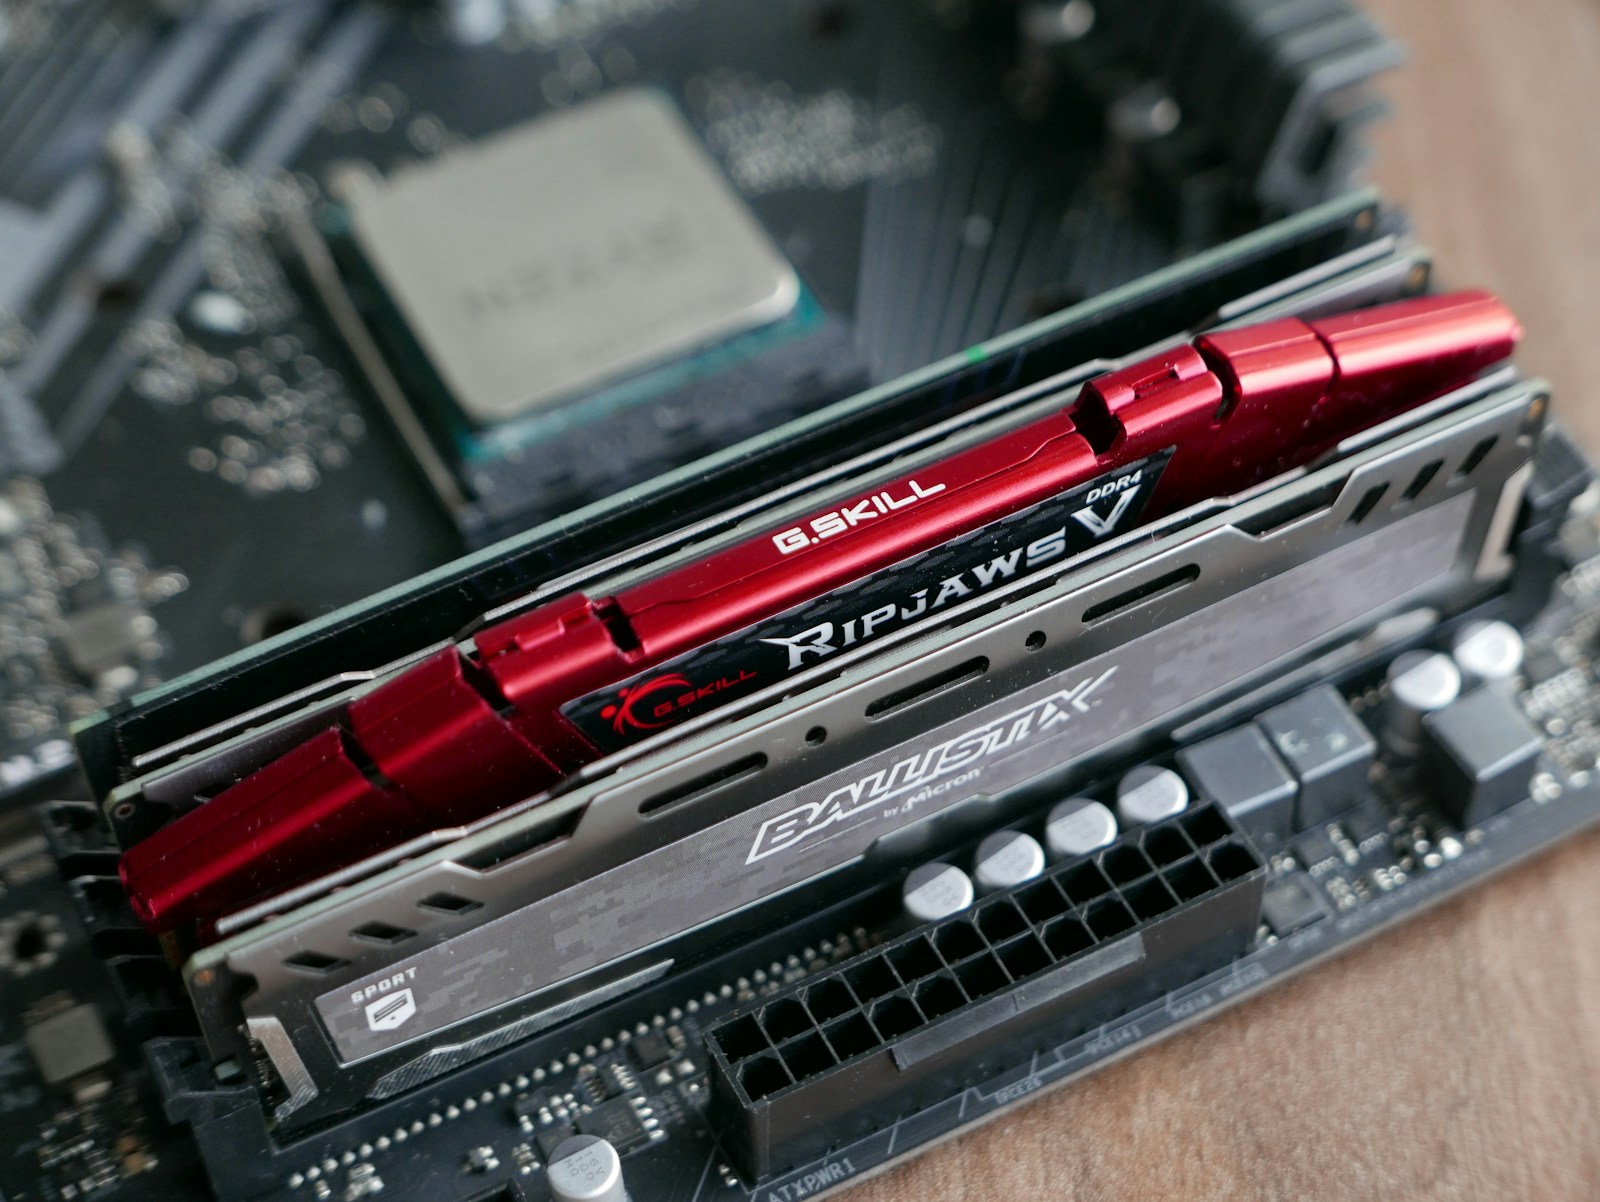
More memory can help when the applications you use together exceed the memory your computer has available. It will not fix every slow task. Before buying a kit, observe a normal heavy workload and look for evidence that memory pressure is contributing to pauses or excessive swapping.
Once an upgrade makes sense, the main job is compatibility. Capacity, memory generation, module type, motherboard support, and slot arrangement all matter. This guide covers a desktop with removable memory modules. Laptops, small-form-factor systems, and computers with soldered memory require their own service instructions.
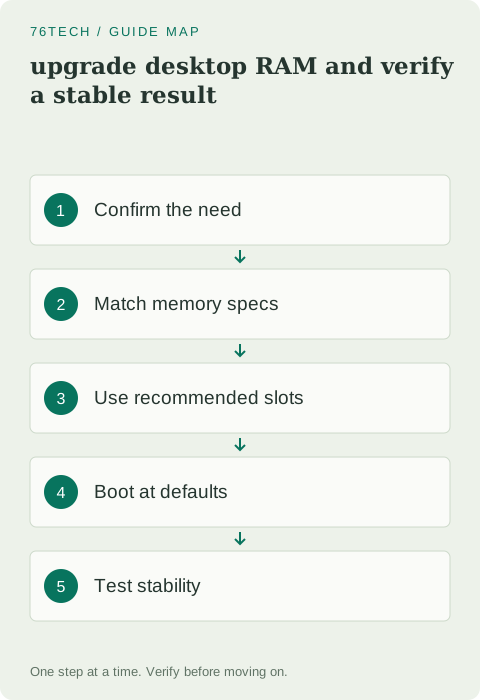
1. Identify the system precisely
Find the motherboard model or the complete prebuilt computer model, then obtain its memory specifications. Note the supported memory generation, maximum capacity, module type, and available slots. Do not use the marketing name of the processor alone to choose a kit; the board and firmware also influence support.
Check what is currently installed. Two modules with the same advertised capacity are not necessarily identical in every relevant property. If you are adding to an existing set, understand the manufacturer's guidance on mixing modules. A matched kit reduces some uncertainty, but it still must be compatible with the computer.
2. Decide on capacity and arrangement together
Think about the full target configuration rather than buying whichever single module looks cheapest. The manual may recommend a particular pair of slots for a two-module setup, often to enable the intended channel arrangement. The correct pair is model-specific; do not assume it is simply the first two neighboring slots.
Leave room for your actual workload and a realistic growth plan, but avoid treating unused capacity as a performance score. If a machine is limited by storage or processor speed, unused RAM will not remove that limitation. Record the reason for the upgrade so you can repeat the same workload afterward and evaluate the result honestly.
3. Prepare the workspace and power down
Save work, shut down, and disconnect the computer from power. Follow the computer's service instructions for discharging residual power and preventing electrostatic damage. Work on a stable, uncluttered surface with adequate light. Keep drinks, loose metal items, and packaging away from the open case.
Use the manual to find the memory slots and latch mechanism. Some slots have a moving latch on only one end. Do not force a fixed end to open. Crucial provides an overview of desktop memory installation; use your motherboard manual for the exact slot labels and physical procedure.
4. Seat the modules correctly
Handle a module by its edges and align its notch with the slot. The notch is there to prevent an incompatible orientation; if it does not line up, stop and recheck the part and direction. Do not attempt to make a different memory generation fit by applying more pressure.
Insert the module evenly according to the manual until the retention mechanism is properly engaged. Check both ends visually. A module can look almost installed while one end remains slightly raised. Before closing the case, ensure that nearby cables are clear and that no latch or connector was accidentally disturbed during the work.
5. Allow the first boot to complete
Some systems take longer on the first boot after a memory change while they train the new configuration. Consult the motherboard guidance rather than repeatedly interrupting the process at the first delay. Diagnostic lights or codes can be useful if the system does not complete startup.
If the computer does not boot, turn it off and follow the documented troubleshooting procedure. Recheck seating and slot placement before changing firmware settings. Returning to the original known-good memory configuration is a valuable comparison. Keep track of which modules were installed in which slots so your observations remain interpretable.
6. Verify capacity at default settings
Once the computer starts, confirm the total memory reported by the firmware and operating system. Some capacity may be reserved for hardware, so distinguish installed memory from available memory. If the reported installed amount is wrong, investigate before proceeding with normal work.
Start with the system's supported default memory settings. Optional performance profiles can increase speed but also introduce another variable when checking stability. Do not assume that a profile is guaranteed to work in every combination of processor, board, firmware, and populated slots. Establish a stable baseline before considering optional tuning.
7. Test both diagnostics and real workloads
Run an appropriate memory diagnostic supported by your system, then repeat the work that originally motivated the upgrade. Observe whether pauses improve and whether applications remain stable. A successful boot alone is not enough evidence: intermittent errors can appear only during sustained or varied use.
If errors or new crashes occur, restore defaults and reassess the configuration instead of dismissing them as normal after an upgrade. Keep the old modules until the new setup has passed your checks and return options are understood. Finish by recording the kit model, capacity, slot placement, and settings. That record will make any later troubleshooting or expansion much more straightforward.